 |
Hog Strap Set
Assembly Diagram
|
Begin with the belt, No. 1 (marked with a "B" on the back near the buckle), facing up with the buckle to the left, as shown.
Items 2, 4, 5, and 8 are the shoulder strap option. If you do not own them, just ignore those.
If you have the shoulder strap assembly, first identify the buckle assembly that has two screwposts and 4 rivets instead of 6 rivets. This is the crotch buckle assembly (number 3). If you do not have the shoulder strap option, you have only one buckle assembly.
Everything now goes on the belt, in the correct order, facing "up", as follows:
No. 2, a shoulder buckle assembly
No. 3, the crotch buckle assembly
No. 4, the other shoulder buckle assembly
No. 5, a shoulder strap (marked with an "S" on the back)
No. 6, one half of the wrist restraint assembly. The restraints should be facing you
No. 7, the crotch strap (marked with a "C")
No. 6, the other half of the wrist restraint assembly. The crotch strap should now be trapped by the wrist restraint assembly (if you're confused by this part, look at the photos below)
No. 8, the other shoulder strap
The ankle strap ("A") is used by itself to secure the ankles, it is not attached to the belt.
Strap on and have fun!
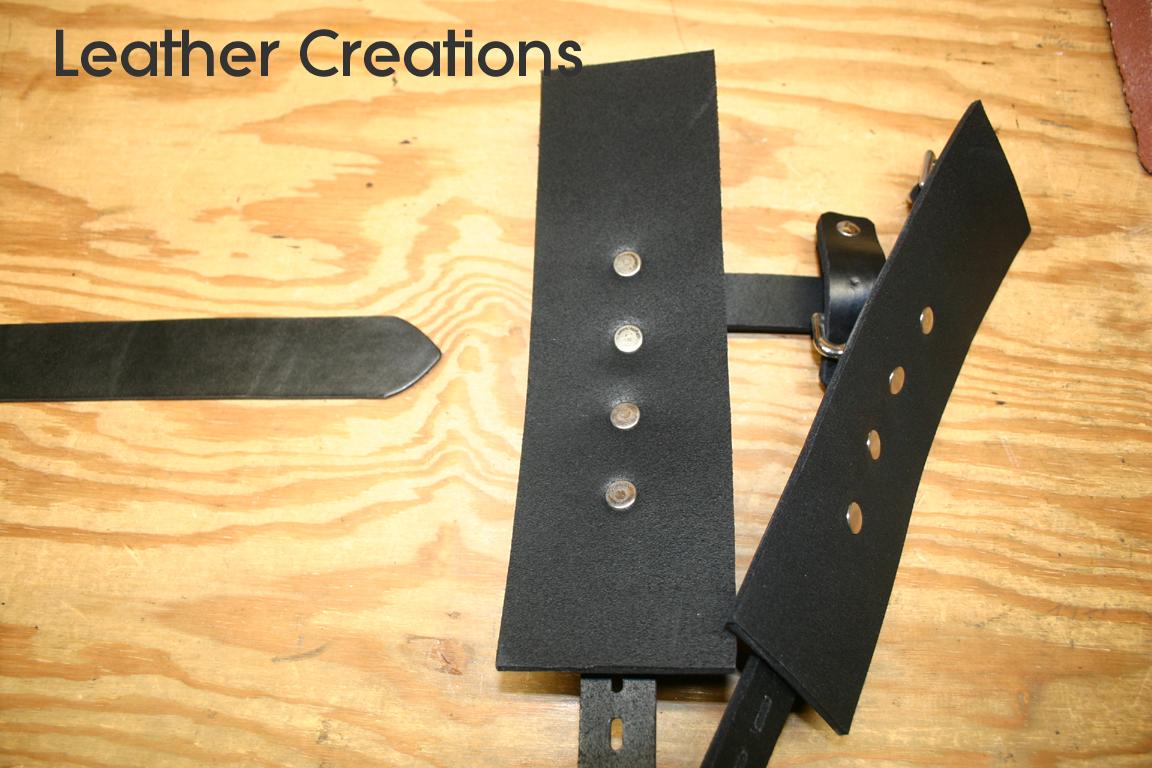
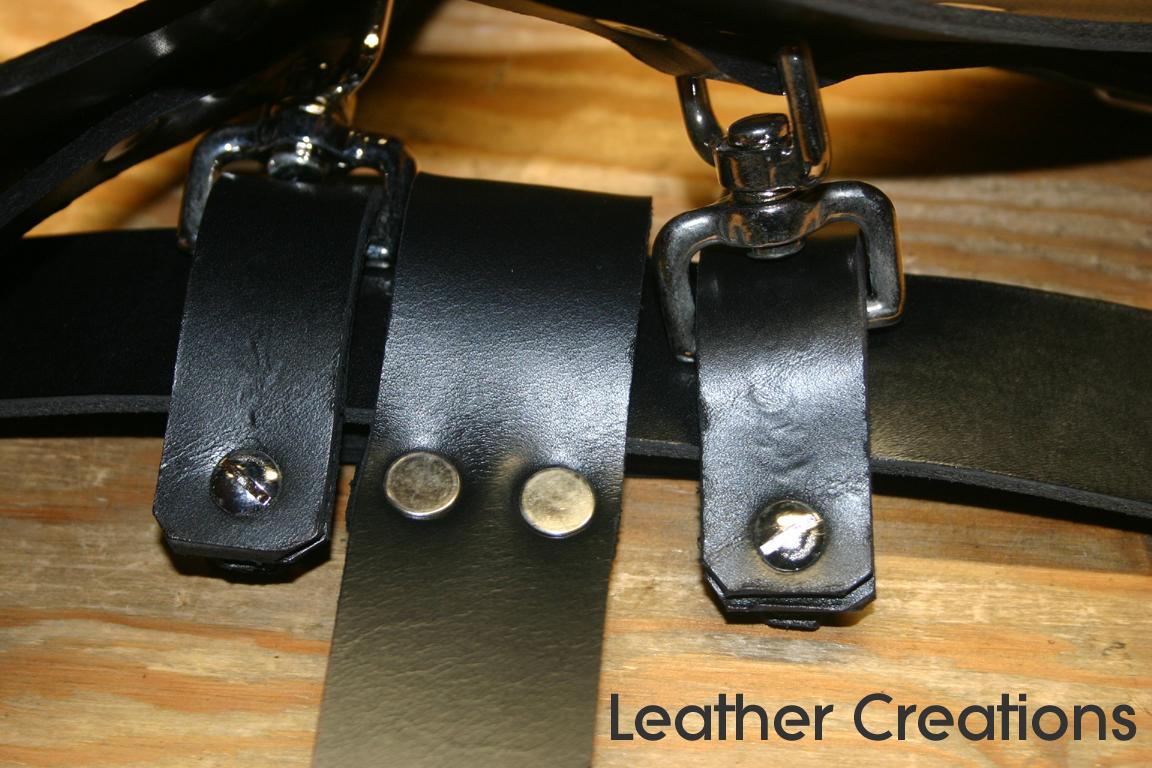
| Here are some photos showing how to place the wrist restraint and crotch strap on the belt. Click on any of them for a full size image, along with written comments. | |
 1 | 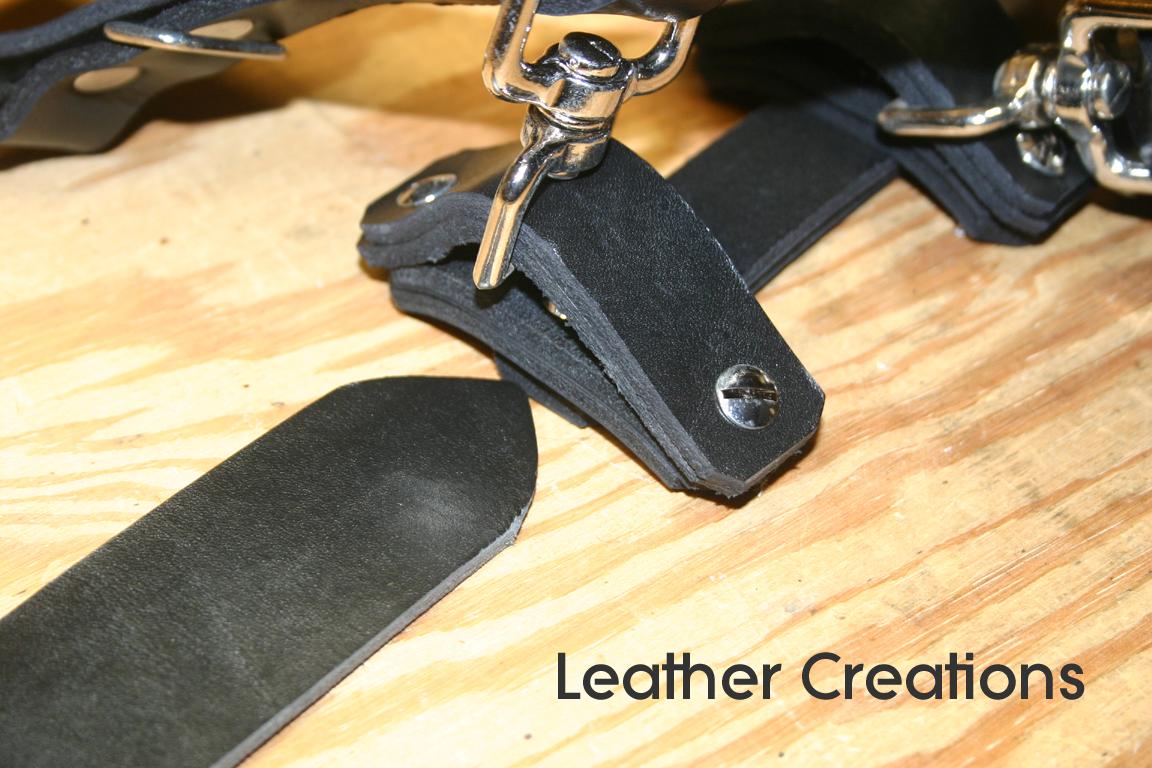 2 |
 3 | 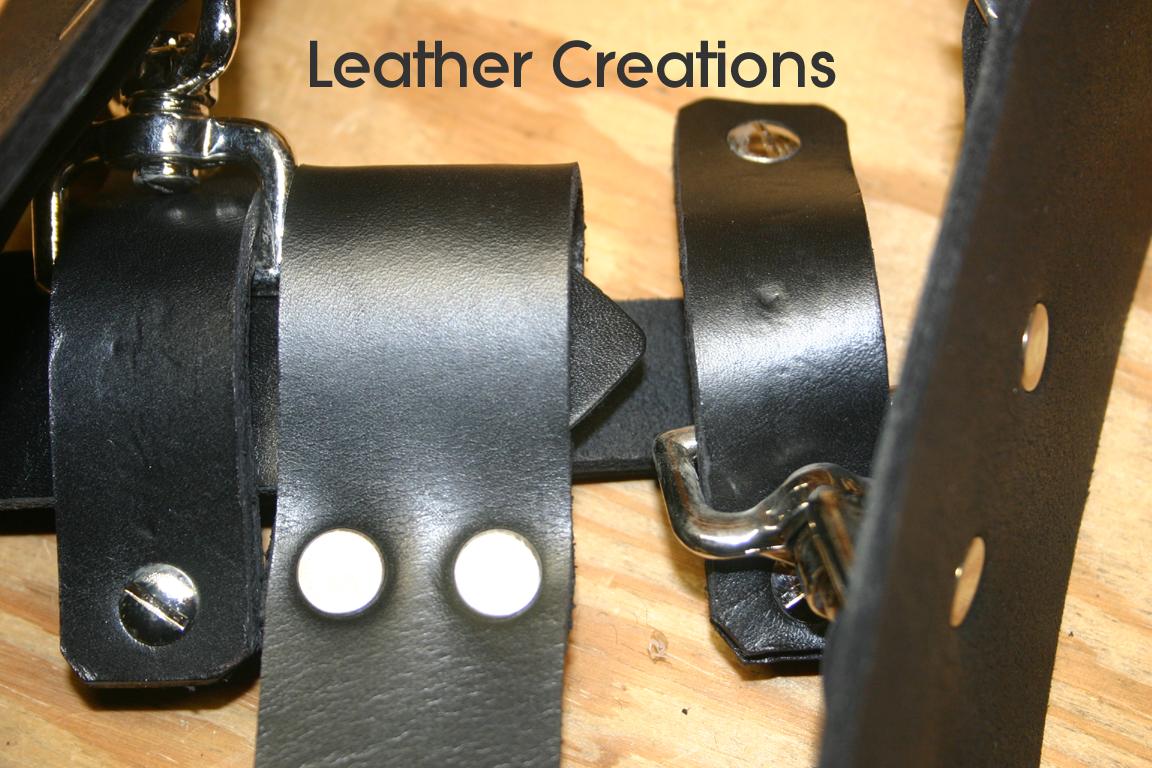 4 |
 5 | 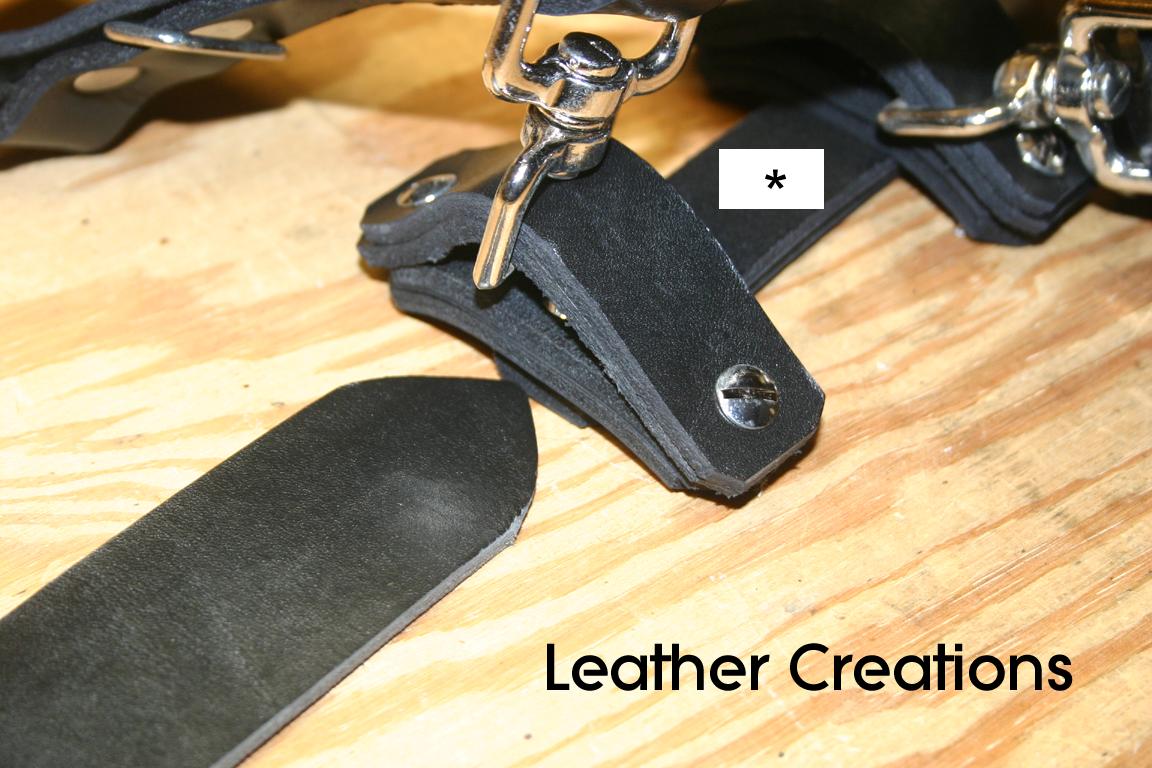 To change the hand position from close together to wider apart, remove the two screws on the strap indicated and replace with the longer strap included with your unit. |
| |||||